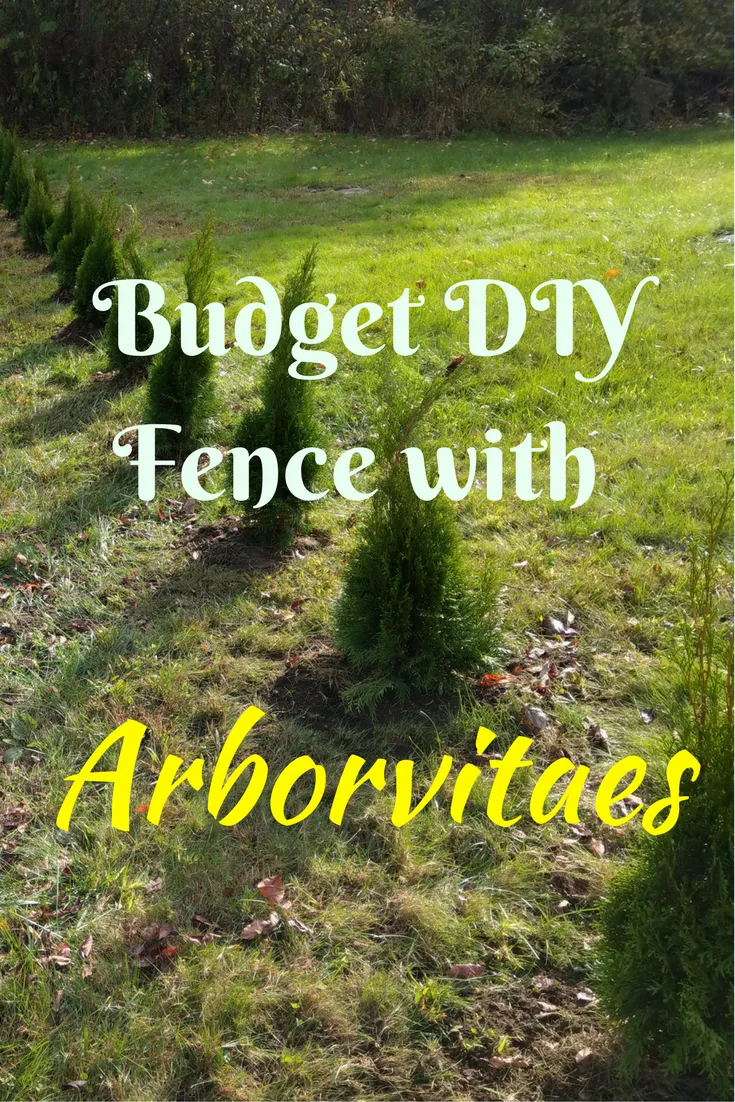
Budget DIY Fence with Arborvitaes

Looking for an affordable solution to privacy in your backyard? Try this budget DIY Fence with Arborvitaes that can be completed over the weekend!
In this DIY project we chose to plant Emerald Green Arborvitaes from our local Home Depot but you can use any variety of Arborvitae and follow along to achieve the desired look.
Before we get started here is a list of things you will need to complete this project:
Now let's begin!
1. MAP IT OUT

First stake out where you want to plant to create that Arborvitae fence line. We wanted privacy on the side of the property that faces our neighbors across the street.
The Emerald Green Arborvitaes we'll be planting should grow 3-4 feet in diameter and 12-15 feet high.
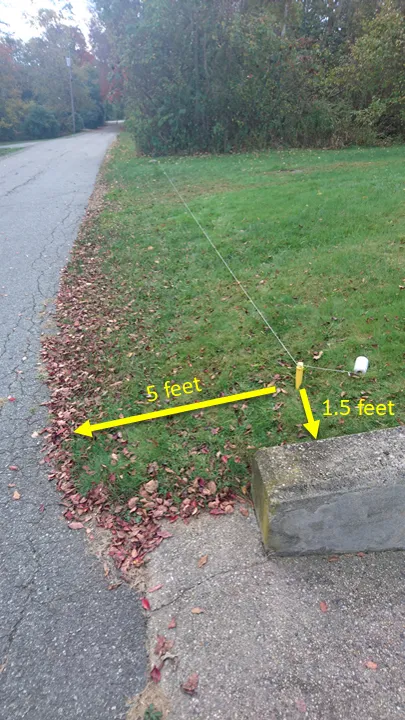
We placed the first stake about 1.5 feet (this is roughly half the diameter of the plant fully grown) from our retaining wall to our driveway and about 5 feet back from the street. This will be where the first Arborvitae is planted.
Next, place a second stake at the far end of the fence line that we will be planting.
We returned to our starting stake, measured out 3 foot increments, and marked them on the string (you can use flags, tape or marker) as place holders for where each of the Arborvitaes will be planted.
*Remember to align your stakes so they grow straight and evenly spaced.*
2. PURCHASING

Once you determine the number of plants you will need, it's off to the store, local farm, or online retailer.
We found the best time to purchase privacy shrubs is the time between the end of summer through mid-fall.
This is when prices drop so that stores can sell their last batches of plants before winter comes.
We chose Emerald Green Arborvitae from Home Depot because of their discounted price, as well as their warranty.
The warranty works so that if the plant dies within the first year of planting you may return it to the store in exchange for a new plant.
All that is required is the receipt from the purchase and the plant tag.
Also check for the hardiness zone that you live in on the USDA.gov Plant Hardiness Zone Map to make sure your plants can grow in that climate.
Accounting for spacing and the 50 feet we had to cover, we ended up needing a total of 16 plants to complete our fence line.
At $11.98 each, that was quite a steal!
3. DIGGING AND PLANTING
After the plants arrive at your chosen location, it's time to break out the shovel and get to digging.
If you own or can rent an auger this can be especially helpful tool for digging your holes.
Pro Tip!
*Dig the holes where the stakes are at the very end so that you have a visual guide with the staked line while digging.*
Dig out where you marked at least 1.5x times as wide and deep as the pot of the plant you purchased.
If you run into rocky terrain, dig as deep as you can and make sure to cover the roots well.
4. WATERING AND CARE

After you cover the plants with soil, water them thoroughly on the first day.
This will help ensure your new friends are taking root and growing strong.
Fertilizer spikes are great for assisting in new growth and keeping plants healthy.
If you live in a cool, high moisture area, a weekly soaking should work for the first year.
Hot, dry areas may require more frequent watering. More information can be found here for arborvitae care.
During the winter seasons, make sure you shake off any heavy snow while the trees are still young.
With a growth rate between 6-9 inches per year, our new fence line should be full in a few years.
Total Cost for Our Budget DIY Fence with Arborvitaes: $191.68
This project only took about 4 hours to complete, including time to drive to the store and back. It was also only around $200 before state taxes, versus the average cost of landscapers, which can run upwards of $100-$200 per hour after labor, tools, and materials combined.
If you enjoyed this post and would like to find more of our blogs follow us at So Hear Me Out.
P.S. What articles and topics would YOU like to see us create?? Just leave a comment below!
I don't serve ads on this site but I do use affiliate links to help pay for hosting. Please consider helping out by using them. More info here in the disclosure. Cheers!↩